How to Clean Your BBQ Grill After a Grease Fire
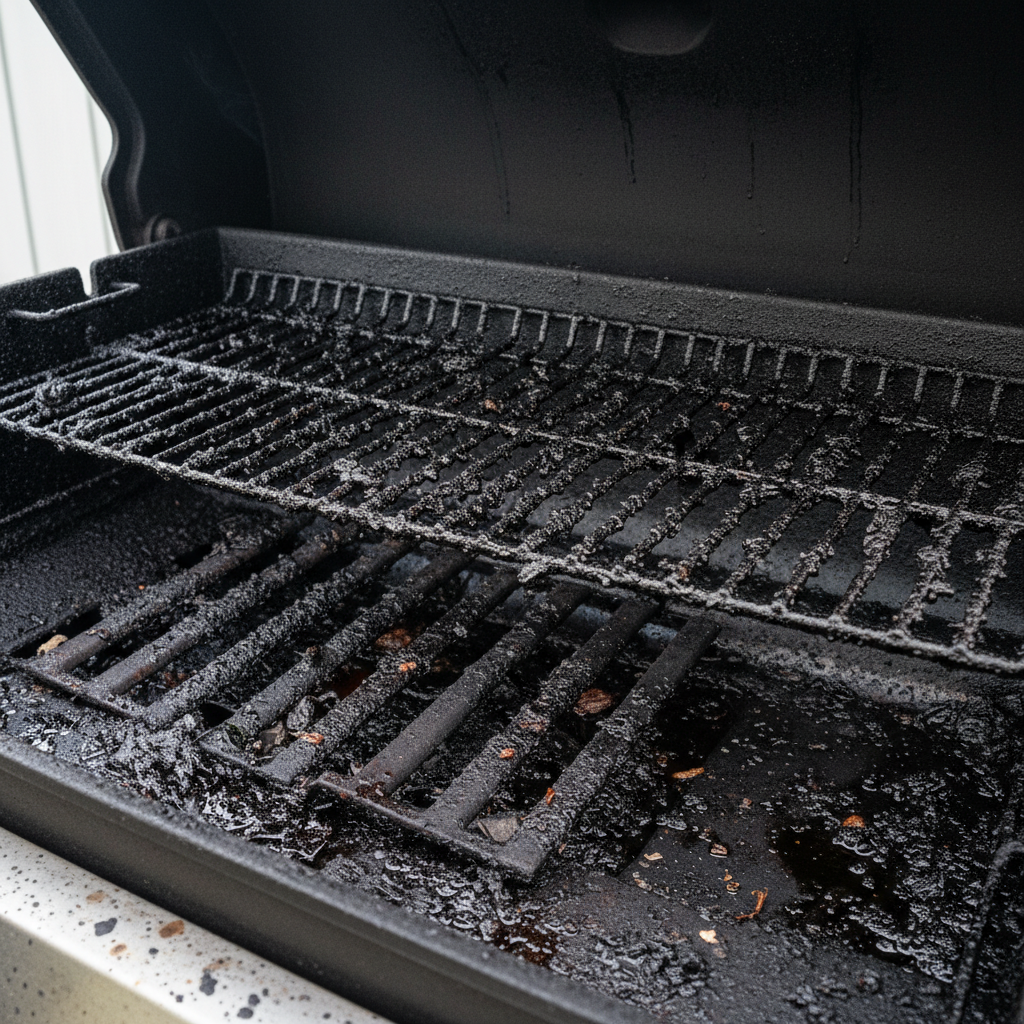
A grease fire on your BBQ grill can be a frightening experience, leaving behind a charred mess and questions about whether your beloved cooking companion is salvageable. Don’t despair! While it may look daunting, a thorough cleaning can often restore your grill to safe, working order. This comprehensive guide will walk you through exactly how to clean your BBQ grill after a grease fire, ensuring it’s free of hazardous residue and ready for many more delicious cookouts.
Safety First: Before You Begin Cleaning
Your safety is paramount. Before you even think about cleaning, take these crucial preliminary steps.
Disconnect and Cool Down
Ensure your grill is completely off and disconnected from its fuel source. For gas grills, turn off the gas tank valve and disconnect the tank. For charcoal grills, ensure all embers are extinguished and completely cold. Allow ample time for the entire grill to cool down, ideally several hours or even overnight, before touching any components. Working with a hot grill, or one that could still reignite, is extremely dangerous.
Assess the Damage
Once cool, carefully inspect your grill for any structural damage. Look for warped metal, cracked components, or compromised gas lines. If you notice significant structural damage, especially to gas lines, burners, or the firebox, it might be safer to consult a professional or consider replacing the grill. Minor charring and soot are typically cleanable, but severe damage could pose a safety risk.
Gather Your Supplies
Cleaning a grill after a grease fire requires more than just a quick wipe-down. You’ll need some heavy-duty cleaning agents and tools. Gather the following before you start:
- Heavy-duty degreaser or oven cleaner
- Food-Grade Baking Soda and Cleaning Vinegar (for a natural alternative)
- Stiff-bristled brush (preferably bristle-free for safety) or a Grill Rescue Brush (bristle-free)
- Heavy-duty grill scraper, such as a Safe Scrub Wooden Grill Scraper
- Bucket of warm, soapy water (dish soap works fine)
- Several Microfiber Cleaning Towels or old rags
- Disposable Nitrile Gloves and eye protection
- Garbage bags
- Garden hose or pressure washer (use with caution)
- New disposable aluminum drip trays
Step-by-Step Guide to Deep Cleaning Your Grill
Follow these steps to meticulously clean every part of your grill, removing all traces of the grease fire.
Remove Grates and Flavorizer Bars
Carefully remove the cooking grates, flavorizer bars (or heat diffusers), and any other removable components from the grill. Place them on a protective surface like old newspaper or cardboard. These will be cleaned separately and thoroughly.
Scrape Away Loose Debris
Using your grill scraper, remove any large, loose charred food particles, ash, and carbonized grease from the interior of the firebox and the underside of the lid. Be gentle to avoid scratching the surface. Collect this debris in a garbage bag for disposal.
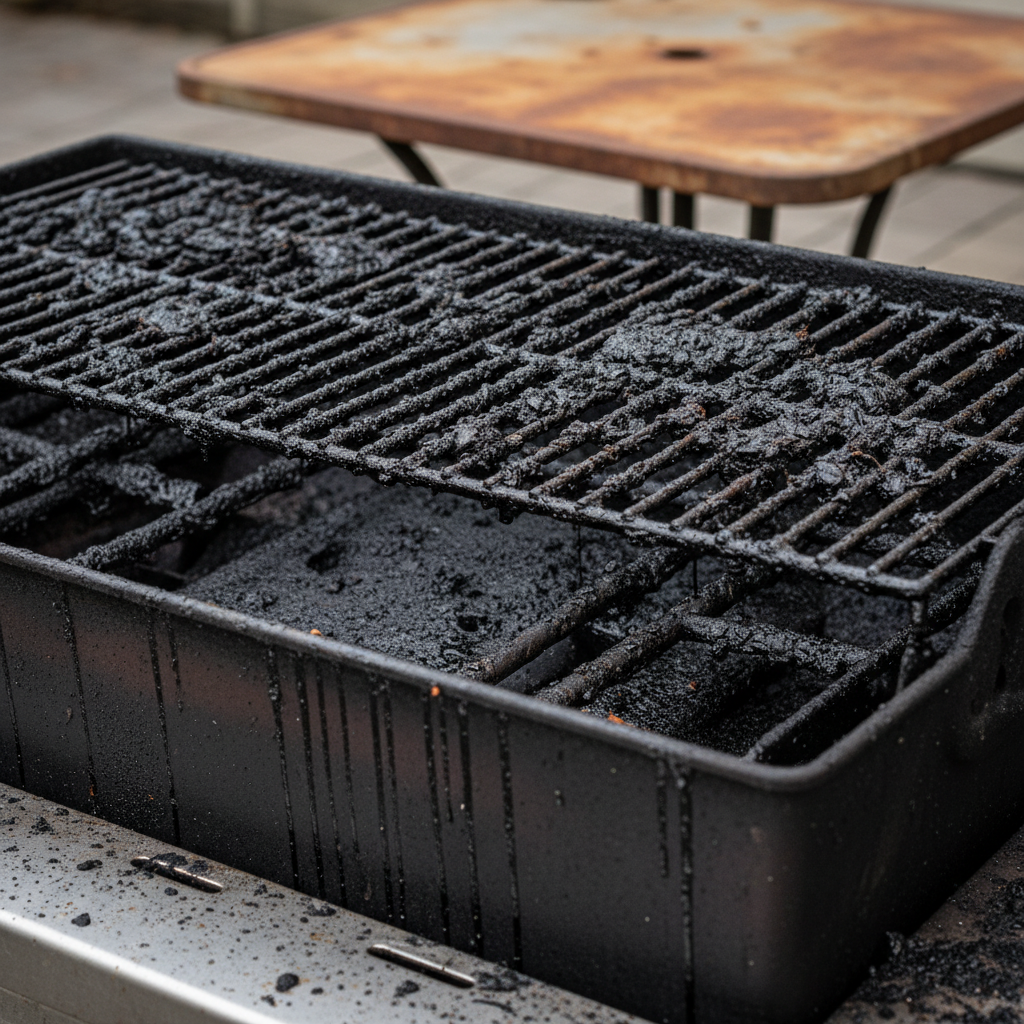
Tackle the Grease and Soot
This is the most critical step for cleaning after a grease fire. The goal is to dissolve and remove the baked-on grease and soot effectively.
Option 1: Heavy-Duty Degreasers
For stubborn, baked-on grease and carbon, a strong degreaser is your best friend. Apply a heavy-duty grill cleaner, such as Easy-Off Professional Oven & Grill Cleaner, generously to the grates, flavorizer bars, and the entire interior of the firebox and lid. Follow the product instructions carefully, allowing it to sit for the recommended time (often 15-30 minutes, or longer for severe buildup). Wear your Disposable Nitrile Gloves and eye protection while working with these chemicals. After soaking, scrub vigorously with your bristle-free grill brush and then rinse thoroughly with a hose. Repeat if necessary.
Option 2: Natural Cleaning Power (Baking Soda & Vinegar)
If you prefer a less chemical approach, a paste of Food-Grade Baking Soda and a spray bottle of Cleaning Vinegar can work wonders. Sprinkle baking soda liberally over the greasy areas, then spray with vinegar. The mixture will fizz, helping to lift the grease. Let it sit for 20-30 minutes, then scrub with your brush. Rinse well. This method might require more elbow grease and repeat applications for severe grease fire residue.
Clean the Grill Interior and Firebox
Once the grates and flavorizer bars are removed, focus on the interior. Use your chosen cleaning method (degreaser or baking soda/vinegar) to clean the inside of the lid, the firebox, and any heat shields. Pay close attention to corners and crevices where grease can accumulate. Rinse thoroughly, ensuring no cleaning solution residue remains. Allow to air dry completely.
Don’t Forget the Exterior and Side Tables
While the focus is on the interior, the exterior of your grill can also be affected by soot and grease splatter. Wipe down the lid, side tables, and control panel with warm, soapy water and a microfiber cloth. For persistent grime, a specialized cleaning wipe like Crocodile Cloth Grill wipes can be very effective. Rinse and dry to prevent water spots.
Clean and Inspect Components (Burners, Venturi Tubes, Igniter)
For gas grills, carefully remove the burners and clean any ports that might be clogged with grease or carbon. A wire brush or paper clip can help clear blockages. Inspect the venturi tubes for spider webs or debris, which can cause uneven flames. Ensure the igniter electrode is clean and properly positioned. For charcoal grills, clean out the ash catcher and inspect the vents for blockage.
Replace Drip Trays and Grease Management System
The grease management system (drip tray, grease cup) is likely heavily soiled or damaged after a grease fire. This is a crucial area for future fire prevention. Always replace disposable aluminum drip trays after a major incident like a grease fire. Thoroughly clean reusable grease cups or pans before reinstalling them.
Reassemble and Season
Once all components are sparkling clean and completely dry, reassemble your grill. For gas grills, reconnect the gas tank. Perform a “burn-off” by heating the grill to high for about 15-20 minutes to burn off any residual cleaning solution or moisture. After the burn-off, turn off the grill and allow it to cool slightly. Then, lightly coat the cooking grates with a high-heat cooking oil (like canola or grapeseed oil) to season them and prevent rust. This also helps create a non-stick surface.
Preventing Future Grease Fires
A grease fire is a wake-up call for better grill maintenance. Here’s how to minimize the risk of a repeat incident.
Regular Cleaning is Key
The number one defense against grease fires is consistent cleaning. Scrape your grates after every use and perform a more thorough cleaning of the firebox and grease management system every 3-5 uses, or at least once a month during grilling season. This prevents grease buildup, which is the primary fuel for these fires.
Manage Grease Effectively
Ensure your grill’s grease management system is always clear. Regularly check and clean the drip pan and grease cup. If using disposable liners, replace them frequently, especially after cooking particularly greasy foods. Avoid letting grease accumulate anywhere inside the grill.
Proper Grill Maintenance
Beyond cleaning, regularly inspect your grill for wear and tear. Check gas lines for cracks or leaks, ensure burners are clear, and keep the exterior clean. A well-maintained grill not only performs better but is also safer.
Frequently Asked Questions
Q1: Is it safe to use my grill after a grease fire?
A1: Yes, in most cases, if you’ve thoroughly cleaned it and inspected it for structural damage. If there’s no warping, cracking, or damage to critical components like gas lines, burners, or the firebox, and all grease residue has been removed, your grill should be safe to use. Always perform a burn-off and seasoning after cleaning.
Q2: How often should I clean my grill to prevent grease fires?
A2: It’s best to scrape your grates after every use. For deeper cleaning of the firebox and grease management system, aim for every 3-5 uses or at least once a month during active grilling seasons. Preventing grease buildup is crucial.
Q3: Can I use a regular oven cleaner on my grill?
A3: Yes, many oven cleaners are effective at dissolving baked-on grease and can be used on grill grates and interiors. However, always check the product label to ensure it’s safe for use on grill materials (e.g., stainless steel, cast iron) and follow safety precautions, especially regarding ventilation and protective gear like Disposable Nitrile Gloves.
Q4: What if there’s rust after the fire?
A4: A grease fire can sometimes strip away seasoning, making grates more prone to rust. After cleaning, if you notice surface rust, you can often remove it with a wire brush or steel wool. Re-seasoning the grates with high-heat cooking oil is essential to prevent further rust and restore their non-stick properties. If rust is deep or structural, consider replacing the affected components.
BBQCleaner.com is a participant in the Amazon Services LLC Associates Program, an affiliate advertising program designed to provide a means for sites to earn advertising fees by advertising and linking to Amazon.com. We may earn a commission from qualifying purchases made through the links on this page at no extra cost to you.