How to Clean a BBQ Without Removing Grates
Why Clean Your BBQ Grates (Even Without Removing Them)?
We all love the taste of perfectly grilled food, but nobody loves a dirty grill. While a full disassembly and deep scrub is ideal for occasional maintenance, sometimes you need a quicker, less intensive method. Learning how to clean a BBQ without removing grates is a game-changer for regular upkeep, saving you time and effort while still ensuring a hygienic and efficient cooking surface.
Regular cleaning, even when the grates stay put, offers several key benefits:
- Hygiene and Food Safety: Old food particles and grease can harbor bacteria. A clean grill prevents contamination and ensures your food is cooked on a sanitary surface.
- Enhanced Flavor: Burnt-on residue can transfer unpleasant, bitter flavors to your food. Clean grates mean pure, delicious BBQ taste every time.
- Improved Performance: Clogged grates can lead to uneven heat distribution and flare-ups. A clean surface allows for better cooking control.
- Extending Grill Lifespan: Regular maintenance prevents rust and corrosion, protecting your investment and keeping your grill in top shape for years to come.
Essential Tools You’ll Need
Before you start, gather your arsenal. Having the right tools makes the job much easier:
- Grill Brush: Opt for a bristle-free grill brush or a Grill Rescue Brush to avoid the risk of wire bristles breaking off and getting into your food. A three-sided brush can also be effective for reaching tight spots.
- Grill Scraper: A wooden grill scraper or a heavy-duty metal scraper can tackle stubborn, caked-on residue.
- Grill Cleaner/Degreaser: A specialized grill cleaning spray/degreaser like Easy-Off Professional Oven & Grill Cleaner or Goo Gone Grill & Grate Cleaner works wonders on grease. For a more natural option, a mix of food-grade baking soda and cleaning vinegar can be very effective.
- Microfiber Cloths/Sponges: For wiping and scrubbing. Keep a few on hand.
- Bucket: For water or cleaning solution.
- Gloves: Disposable nitrile gloves protect your hands from grease and cleaning chemicals.
- Disposable Drip Pan Liners: If your grill uses them, now is a good time to have fresh ones ready. You can find disposable drip tray liners or Weber aluminum drip pans.
Step-by-Step Guide: How to Clean Your BBQ Grates Without Removal
Follow these steps for a thorough clean without the hassle of taking your grates out:
1. The Pre-Cleaning Burn-Off
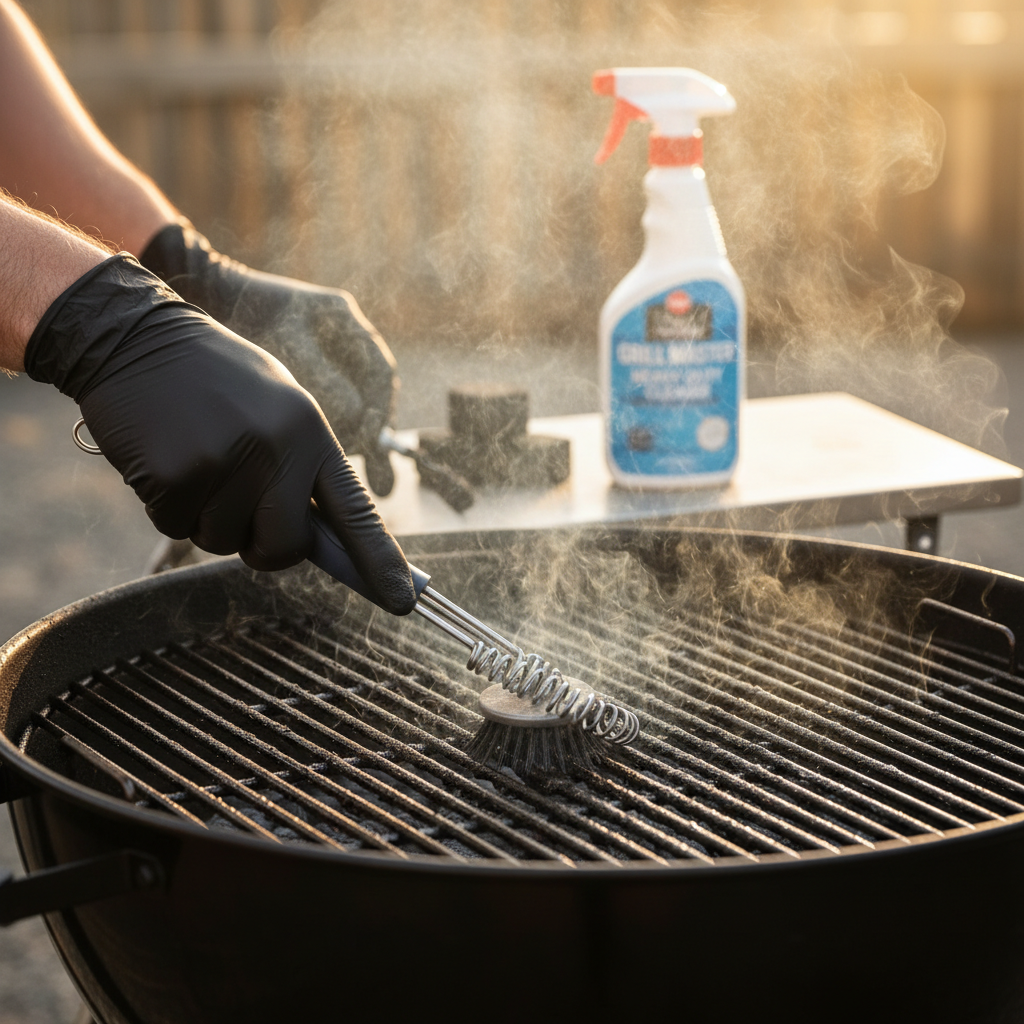
This crucial first step loosens most of the stubborn food particles. Turn your grill on high heat, close the lid, and let it run for 10-15 minutes. This will incinerate leftover food, turning it into easily removable ash. For charcoal grills, simply let the coals burn down for a bit after cooking, or add fresh coals and let them get hot.
2. Scraping Off Loose Debris
Once the grill has cooled down significantly (but is still warm), use your grill scraper or grill brush to scrape off the charred remnants. Work quickly while the grates are still warm, as this makes the job easier. For gas grills, make sure the gas is turned off before you start scraping. For charcoal grills, ensure the coals are cool enough to be safe.
3. Applying Your Cleaning Solution
Now that the heavy crud is gone, it’s time for the cleaning agent. Ensure the grill is completely cool before applying any chemicals.
- Commercial Cleaner: Spray your chosen grill cleaner/degreaser liberally onto the grates. Follow the product instructions for dwell time, usually 5-15 minutes, allowing it to penetrate and dissolve grease.
- DIY Paste (Baking Soda & Vinegar): Mix baking soda with a small amount of water to form a thick paste. Apply this paste directly onto the grates, focusing on heavily soiled areas. For extra cleaning power, spray cleaning vinegar over the baking soda paste. It will fizz, helping to break down grime. Let it sit for 20-30 minutes.
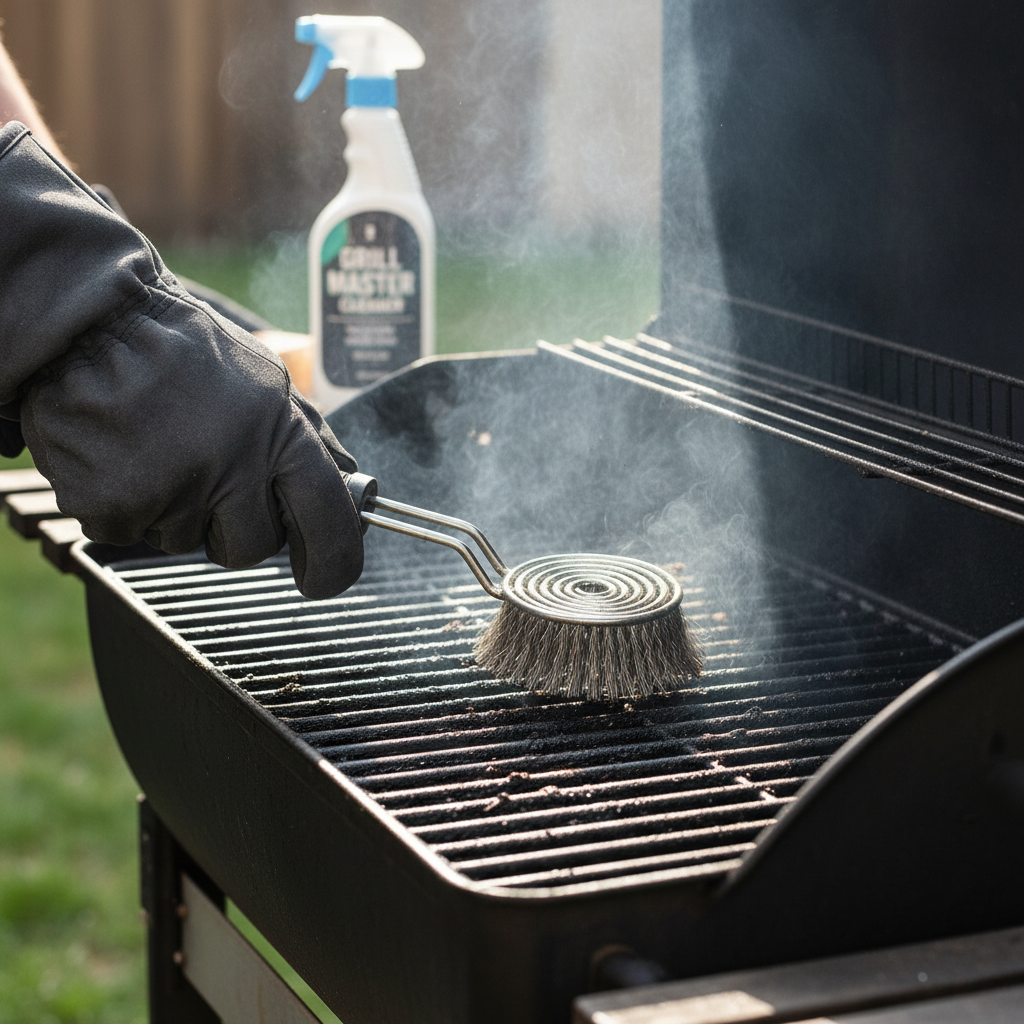
4. Scrubbing and Wiping
With your cleaning solution doing its work, grab your bristle-free brush or a sturdy sponge. Vigorously scrub the grates, applying pressure to remove all remaining grease and residue. Use your scraper for any truly stubborn spots. Wipe away loosened grime with a damp microfiber cloth.
5. Don’t Forget Below the Grates
While the grates are staying put, you can still clean the areas directly beneath them. Use your scraper or a stiff brush to push ash and debris into the drip pan. If your grill has heat deflectors or flavorizer bars, carefully scrape or brush them clean as well. Remove and clean or replace your disposable drip pan liners or tray. This prevents grease fires and maintains overall grill cleanliness.
6. Rinsing and Final Wipe-Down
If you used a commercial cleaner, it’s crucial to rinse thoroughly. You can lightly spray the grates with water (avoiding internal electrical components on gas grills) and then wipe them down with clean, damp cloths until all chemical residue is gone. For baking soda/vinegar, a thorough wipe with a wet cloth usually suffices. Ensure no standing water remains on the grates to prevent rust.
7. Seasoning the Grates (Optional but Recommended)
Once the grates are clean and dry, a light seasoning helps prevent rust and creates a non-stick surface. Lightly coat the grates with a high-smoke-point cooking oil (like vegetable or canola oil) using a paper towel. Then, heat the grill on low for 10-15 minutes until the oil bakes onto the surface.
Maintaining a Clean Grill Between Deep Cleans
Prevention is key to an easy cleaning routine:
- Post-Cook Burn-Off & Scrape: After every cook, turn up the heat for 5-10 minutes, then give the grates a quick scrape with your grill brush while they’re still warm.
- Regular Drip Pan Emptying: Don’t let grease build up in your drip tray. Replace disposable liners regularly.
- Use Grill Mats: Reusable grill mats can keep your grates pristine and minimize direct contact with food, making cleanup a breeze.
- Grill Cover: Protect your grill from the elements and debris with a good quality grill cover when not in use.
FAQs About Cleaning BBQ Grates Without Removal
- Q: How often should I clean my BBQ grates without removing them?
- A: For optimal hygiene and performance, aim for a quick scrape after every cook. A more thorough clean, following the steps above, should be done every 2-3 months, or after every 5-10 uses, depending on how frequently you grill and what you cook.
- Q: Can I use dish soap to clean my grates while they’re in the grill?
- A: While dish soap is excellent for grease, it can be tricky to rinse thoroughly when the grates are in place, potentially leaving a soapy residue that could affect food taste or cause rusting. Specialized grill cleaners or the baking soda/vinegar method are generally safer and more effective for in-situ cleaning.
- Q: Is it safe to use a wire brush if I’m careful?
- A: We strongly advise against using wire brushes due to the risk of bristles breaking off and contaminating food. Always opt for bristle-free alternatives like coiled metal brushes, wooden scrapers, or grill bricks for safety.
- Q: What if I have really stubborn, baked-on grease?
- A: For extremely tough grime, you may need to repeat the cleaning solution application and scrubbing steps. Allowing the cleaner to sit for a longer period (e.g., overnight, if safe for your grill type and cleaner) can also help. A grill cleaning stone can also be very effective on baked-on residue.
BBQCleaner.com is a participant in the Amazon Services LLC Associates Program, an affiliate advertising program designed to provide a means for sites to earn advertising fees by advertising and linking to Amazon.com. We may earn a commission from qualifying purchases made through links on this page.