How to Clean a BBQ Grease Trap: A Comprehensive Guide
Introduction to BBQ Grease Trap Cleaning
Ah, the joy of outdoor grilling! Sizzling steaks, perfectly charred veggies, and the aroma of a backyard barbecue. But behind every great grill master is a secret weapon for consistent performance and safety: a clean BBQ grease trap. Often overlooked, the grease trap (or drip pan) collects fats, oils, and food debris that render off your food during cooking. If left uncleaned, this seemingly innocuous component can become a major fire hazard, attract pests, and lead to unpleasant flare-ups.
Cleaning your BBQ grease trap isn’t the most glamorous task, but it’s crucial for the longevity of your grill and the safety of your cooking. This comprehensive guide from BBQCleaner.com will walk you through everything you need to know about how to clean a BBQ grease trap effectively, keeping your grill running smoothly and safely for years to come.
Why Cleaning Your BBQ Grease Trap Matters
Neglecting your grill’s grease trap can lead to several problems. Understanding these will highlight why regular maintenance is so important:
- Fire Hazard: The most critical reason. Accumulated grease is highly flammable. A flash flame from a flare-up can easily ignite a full grease fire, posing a serious risk to your grill, property, and even personal safety.
- Unpleasant Flare-Ups: Excess grease can cause sudden, uncontrolled flare-ups that scorch your food, burn off seasonings, and make grilling a frustrating experience.
- Pest Attraction: Leftover food particles and grease are an open invitation to insects and rodents. Nobody wants uninvited guests at their barbecue.
- Grill Performance: A clogged grease management system can affect heat distribution and ventilation, leading to uneven cooking and a less efficient grill.
- Longevity of Your Grill: Grease buildup can lead to corrosion and damage to internal components over time, shortening the lifespan of your valuable appliance.
- Hygiene: A clean grill, including its grease trap, ensures a more sanitary cooking environment for your food.
How Often Should You Clean It?
The frequency of cleaning depends on how often you grill and what you cook. Here’s a general guideline:
- Light Cleaning (After Every Use): If you use disposable liners (more on that later), simply replace them. If not, quickly scrape out any visible grease and wipe down the pan.
- Deep Cleaning (Monthly or Seasonally): For regular grillers, a thorough deep clean of the grease trap is recommended at least once a month. For occasional users, a seasonal deep clean (e.g., at the start and end of grilling season) should suffice.
- As Needed: If you notice excessive grease buildup, frequent flare-ups, or a foul odor, it’s time for a deep clean, regardless of your schedule.
Tools and Supplies You’ll Need
Before you begin your BBQ grease trap cleaning mission, gather your arsenal:
- Safety Gear: Heavy-duty rubber gloves and safety glasses are a must.
- Scraper: A Heavy Duty Grill Scraper Stainless Steel Griddle Scraper or a sturdy putty knife works wonders for solidified grease.
- Degreaser/Cleaner: A specialized Grill Cleaning Spray/Degreaser is ideal, or a heavy-duty dish soap.
- Brushes: A stiff-bristled brush (nylon or brass, depending on your pan’s material) for scrubbing. Avoid wire brushes on aluminum pans.
- Bucket/Container: For soaking and rinsing.
- Warm Water: Essential for cutting through grease.
- Paper Towels or Rags: For wiping and drying.
- Trash Bag: To dispose of grease safely.
- Optional: Disposable Drip Tray Liners or Weber Aluminum Drip Pans for future prevention.
Step-by-Step Guide: How to Clean a BBQ Grease Trap
Follow these steps for a sparkling clean grease trap:
Step 1: Safety First & Preparation
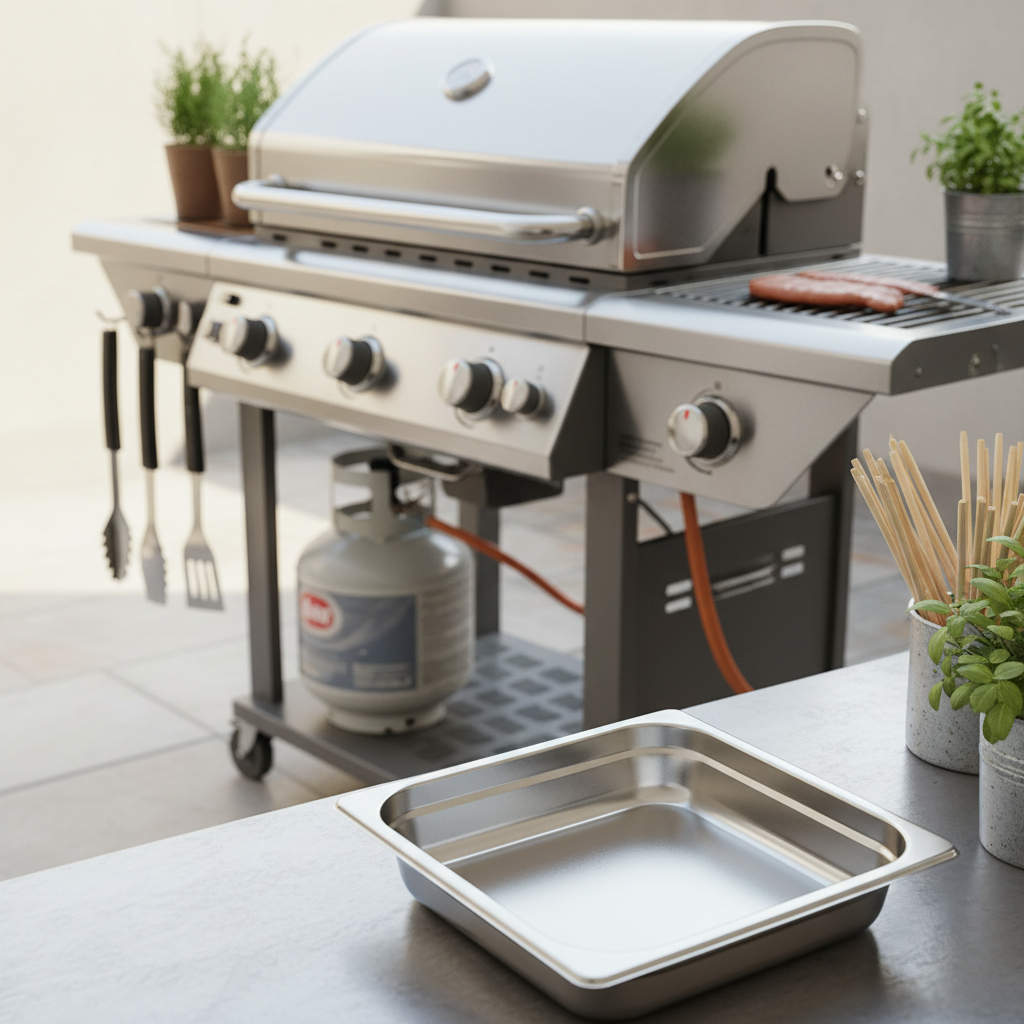
Always ensure your grill is completely cool before you start cleaning. Turn off the gas supply and disconnect the propane tank if applicable. Wear your gloves and safety glasses to protect your hands and eyes from grease and cleaning agents.
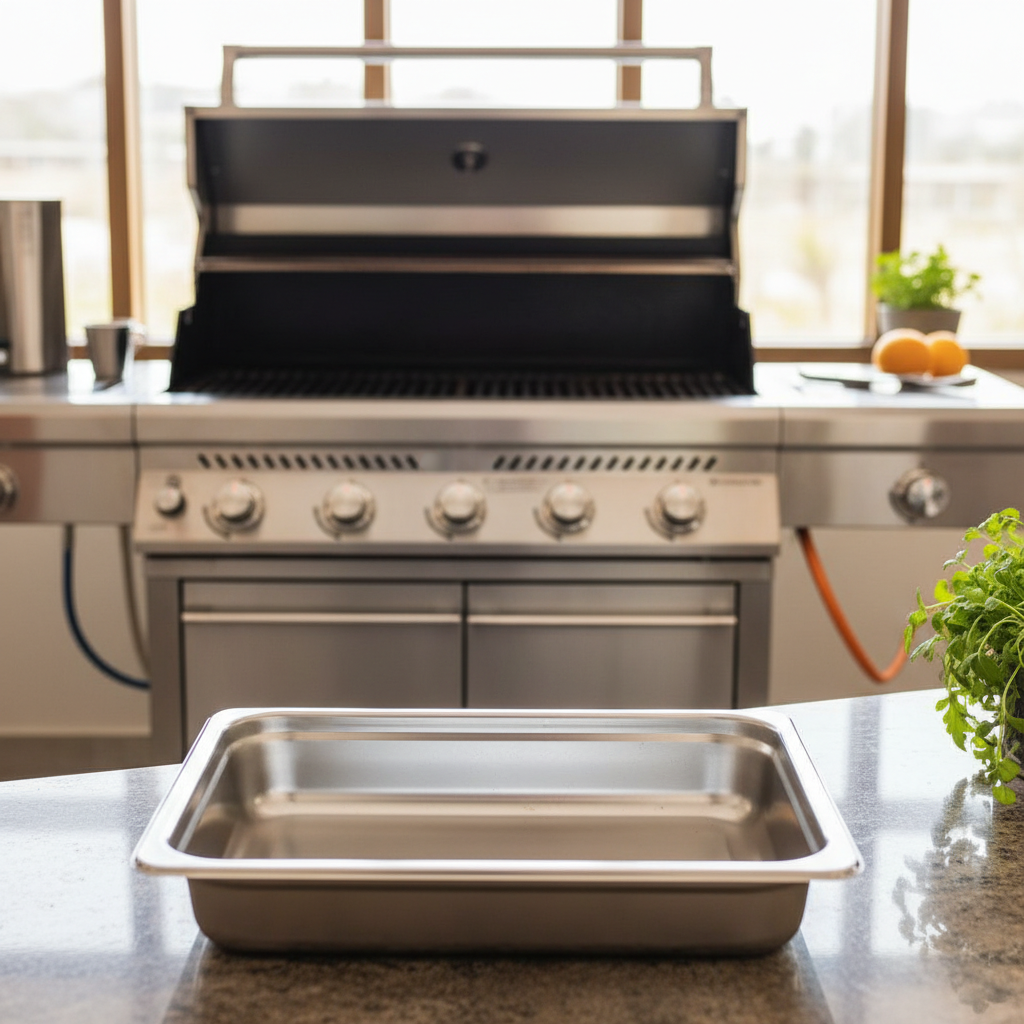
Step 2: Remove and Empty the Grease Trap
Locate your grill’s grease trap or drip pan. It’s usually a small tray or bucket found underneath the cooking chamber, often accessible from the front or back. Carefully slide it out. If you’re using Disposable Drip Tray Liners, simply remove the used one, place it in a trash bag, and discard. For a reusable pan, proceed to the next step.
Scrape any solid, congealed grease and food debris directly into a trash bag. Avoid pouring liquid grease down your drain, as it can clog pipes.
Step 3: Initial Scrape and Soak
Once the bulk of the grease is removed, use your scraper to tackle any remaining thick, solidified grime. Then, fill your bucket or a utility sink with hot water and a generous amount of dish soap. Submerge the grease trap in the soapy water and let it soak for at least 30 minutes, or longer for very stubborn buildup. Hot water helps to loosen and dissolve grease.
Step 4: Apply Degreaser/Cleaner
After soaking, remove the trap and drain the water. Spray a dedicated Grill Cleaning Spray/Degreaser generously over all surfaces of the grease trap, especially on areas with heavy residue. Allow the cleaner to sit for the time recommended on the product label, usually 5-10 minutes. This allows the powerful agents to break down the grease.
Step 5: Scrub Away Grime
Now it’s time for some elbow grease! Use your stiff-bristled brush to vigorously scrub all surfaces of the grease trap. Pay close attention to corners, edges, and any crevices where grease might accumulate. For extremely stubborn baked-on grime, you might need to reapply the degreaser and scrub again. A Heavy Duty Grill Scraper can be effective for particularly tough spots.
Step 6: Rinse Thoroughly
Once you’ve scrubbed away all the grime, rinse the grease trap thoroughly with hot water. Ensure all cleaning solution and grease residue are completely washed away. You want a clean, residue-free surface to prevent any chemical taste transferring to your food.
Step 7: Dry and Reinstall
Dry the grease trap completely with paper towels or a clean rag. Allowing it to air dry can lead to rust, especially if it’s made of steel. Once dry, slide the clean grease trap back into its rightful place under your grill. For easier future cleaning and enhanced protection against buildup, consider placing a new Weber Aluminum Drip Pan or Disposable Drip Tray Liners inside the trap.
Advanced Cleaning Tips for Stubborn Grease
Sometimes, grease can be incredibly stubborn. Here are a few advanced tricks:
- Baking Soda Paste: Mix Food-Grade Baking Soda with a little water to form a thick paste. Apply it to baked-on grease, let it sit for an hour or two (or overnight), then scrub. Baking soda is a natural abrasive and deodorizer.
- Vinegar Solution: For a natural degreasing boost, spray areas with Cleaning Vinegar after applying baking soda. The chemical reaction creates a fizzing action that can help lift grime. Rinse thoroughly afterward.
- Heavy-Duty Oven Cleaner: For extreme cases, a strong oven cleaner like Easy‑Off Professional Oven & Grill Cleaner can work wonders. However, use with extreme caution, wear full PPE, ensure excellent ventilation, and follow product instructions precisely. Rinse exceptionally well to remove all chemical residue.
Grease Trap Maintenance and Prevention Tips
Prevention is always better than cure. Implement these habits to keep your grease trap cleaner for longer:
- Use Disposable Liners: This is arguably the easiest way to manage grease. Disposable Drip Tray Liners catch all the grease and can simply be thrown away after each use.
- Scrape After Every Cook: Once the grill cools slightly, a quick scrape of the drip pan can prevent grease from solidifying into a stubborn mess.
- Pre-Wipe Fatty Foods: Before placing very fatty cuts of meat on the grill, give them a quick wipe with a paper towel to remove excess surface fat.
- Season Your Grill Grates: Properly seasoned grates create a non-stick surface, reducing the amount of food debris that falls into the trap.
- Regular Deep Cleans: Stick to a monthly or seasonal deep cleaning schedule to prevent significant buildup.
Frequently Asked Questions (FAQs)
Q1: How often should I clean my BBQ grease trap?
A: For optimal performance and safety, a light clean (emptying/wiping) should be done after every grilling session. A deep clean, following the steps outlined above, is recommended monthly for frequent grillers and seasonally for occasional users.
Q2: Can I put my grease trap in the dishwasher?
A: It depends on the material and your dishwasher. Most manufacturer guidelines advise against it, especially for aluminum pans, as harsh dishwasher detergents can cause discoloration, corrosion, or pitting. Hand washing is generally safer and more effective for cutting through heavy grease.
Q3: What happens if I don’t clean my grease trap?
A: Neglecting your grease trap can lead to dangerous grease fires, excessive flare-ups, pest infestations, unpleasant odors, uneven cooking, and a reduced lifespan for your grill due to corrosion.
Q4: What’s the best degreaser for BBQ grease?
A: A dedicated Grill Cleaning Spray/Degreaser is usually the most effective solution for breaking down tough BBQ grease. For extremely stubborn buildup, specialized oven cleaners or a paste made from baking soda and water can also be very effective.
Q5: Can I use household cleaners on my grill’s grease trap?
A: While some household cleaners (like dish soap) are safe, avoid abrasive cleaners, bleach, or highly corrosive chemicals that aren’t specifically designed for grill use. Always test in an inconspicuous area and rinse thoroughly to ensure no harmful residues remain.
BBQCleaner.com is a participant in the Amazon Services LLC Associates Program, an affiliate advertising program designed to provide a means for sites to earn advertising fees by advertising and linking to Amazon.com. We may earn a commission from qualifying purchases.