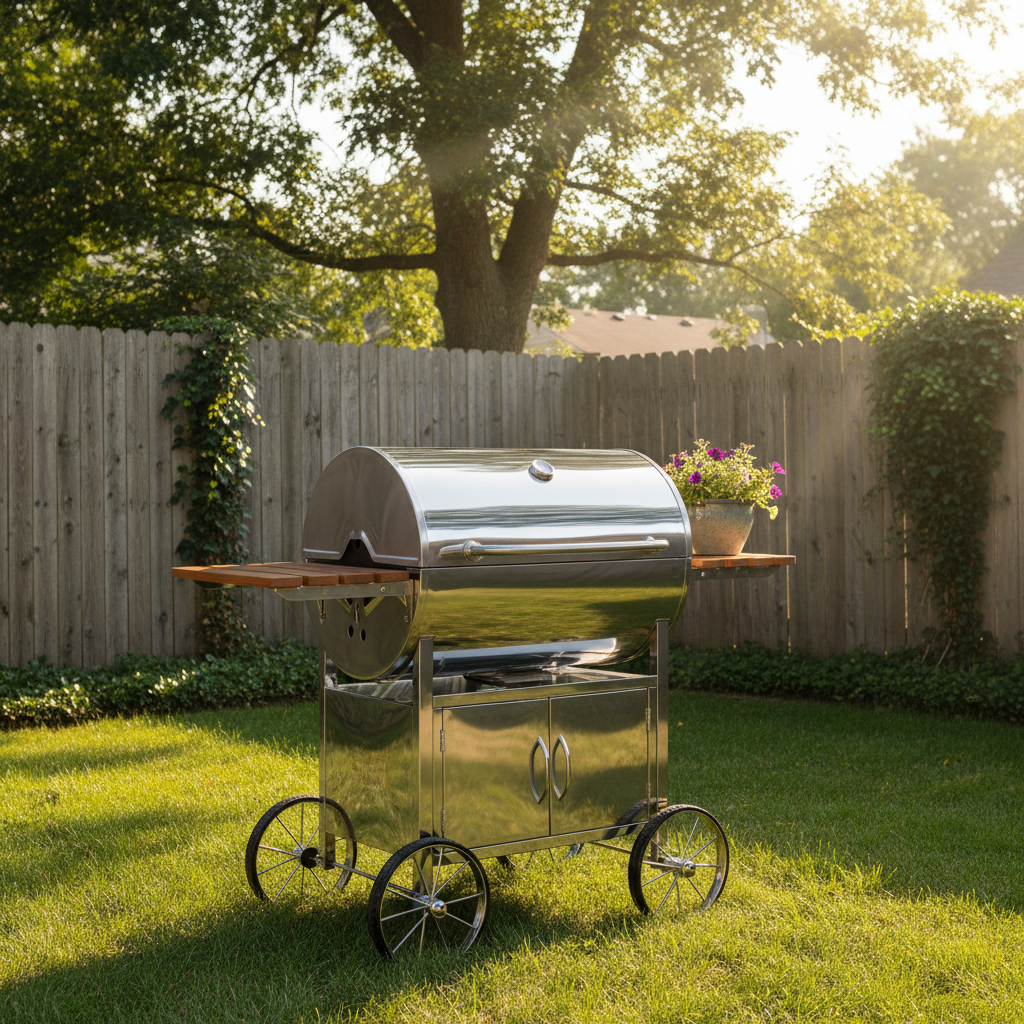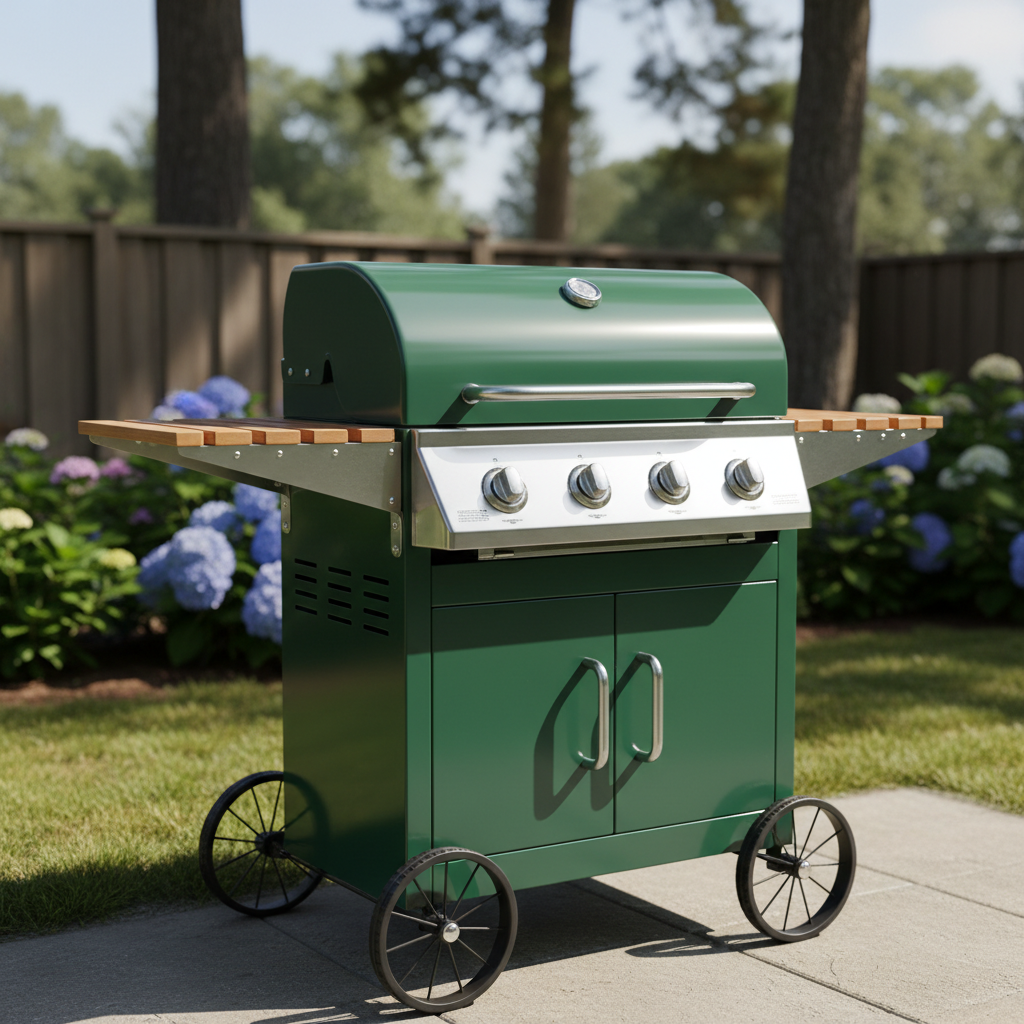
Bring Your Old BBQ Back to Life: The Ultimate Restoration Guide
Introduction: Why Restore Your Old BBQ?
Is your once-proud BBQ gathering dust and rust in the corner of your patio? Don’t sentence it to the landfill just yet! With a little elbow grease and the right tools, you can bring an old BBQ back to life, saving money and enjoying countless more delicious meals. Restoring your grill is not just about aesthetics; it’s about improving performance, ensuring food safety, and getting more value out of your investment. This comprehensive guide will walk you through every step of a full BBQ restoration, transforming your neglected outdoor cooker into a grilling powerhouse once more.
Safety First: Essential Precautions
Before you begin any BBQ restoration project, safety is paramount.
- Always disconnect gas lines or remove propane tanks.
- Wear disposable nitrile gloves to protect your hands from grease, rust, and cleaning chemicals.
- Use eye protection to shield against debris and splashes.
- Work in a well-ventilated area, especially when using strong cleaning agents or paints.
Phase 1: The Deep Clean
The first step in any successful BBQ restoration is a thorough, deep clean. This phase tackles years of baked-on grease, carbon, and grime.
Grates & Cooking Surfaces
Start with the heart of your grill – the cooking grates.
- Scrape Off Loose Debris: Use a safe scrub wooden grill scraper or a bristle-free grill brush to remove any large, loose food particles.
- Soak & Degrease: For heavily soiled grates, place them in a large tub or heavy-duty trash bag. Spray generously with a powerful professional oven & grill cleaner or a dedicated grill cleaning spray/degreaser. Let them soak for several hours or overnight as per product instructions.
- Scrub & Rinse: After soaking, scrub the grates vigorously with your brush or a grill cleaning stone. Rinse thoroughly with hot water. For stubborn spots, a paste of food-grade baking soda and a little water can work wonders.
Burners, Flavorizer Bars, & Heat Plates
These components are crucial for even heat distribution.
- Remove & Inspect: Carefully remove burners, flavorizer bars, and heat plates. Brush off any loose rust or debris with a wire brush.
- Clean Obstructions: Use a small wire or paperclip to clear any clogged burner holes. For flavorizer bars, scrape off built-up carbon and grease. If they are severely rusted or warped, they might need replacement (see Phase 3).
- Wipe Down: Use a damp cloth or microfiber cleaning towels with a mild detergent to wipe down all surfaces before reassembling.
Interior & Firebox
The inside of your grill accumulates a lot of grease and carbon.
- Scrape Out Debris: Use a plastic scraper or putty knife to scrape out the bottom of the firebox, removing any flaky carbon or hardened grease.
- Degrease: Spray the interior with a heavy-duty degreaser or a solution of hot water and Dawn Powerwash Spray. Let it sit, then scrub and wipe clean.
- Check Drip Tray: Empty and clean the drip tray. Consider using disposable drip tray liners in the future for easier maintenance.
Exterior & Side Tables
Don’t forget the outside!
- Wipe Down: Use warm, soapy water or a specialized Weber grill cleaner spray on the exterior surfaces. For stainless steel, wipe with the grain to avoid scratches.
- Polish: Once clean, you can use a stainless steel polish to restore its shine.
- Clean Side Tables: For plastic or painted side tables, a general all-purpose cleaner works well.

Phase 4: Protection & Maintenance for Longevity
Once your BBQ is restored, the goal is to keep it that way.
Seasoning Grates
If you have cast iron grates, seasoning them after cleaning is crucial to prevent rust and create a non-stick surface. Apply a thin layer of high-heat cooking oil and heat the grill to a high temperature for about an hour. Repeat this process a few times.
Grill Covers
The simplest and most effective way to protect your BBQ from the elements is a good grill cover. Invest in a durable, weather-resistant grill cover, like a Weber Premium Grill Cover, to shield it from rain, snow, sun, and dust.
Regular Cleaning Habits
The best way to prevent your grill from falling back into disrepair is consistent maintenance:
- Clean grates after every use.
- Empty and replace drip pan liners regularly.
- Wipe down the exterior periodically.
- Perform a mini-deep clean at the beginning and end of each grilling season.
Conclusion: Enjoy Your “New” Old BBQ!
Bringing an old BBQ back to life is a rewarding project. Not only do you extend the lifespan of a valuable outdoor appliance, but you also gain the satisfaction of transforming something neglected into a functional, beautiful centerpiece for your backyard gatherings. Follow these steps, and you’ll be grilling up feasts on your “new” old BBQ in no time!
Frequently Asked Questions
- Q: How long does a full BBQ restoration typically take?
- A: The time frame can vary greatly depending on the condition of your grill and how much rust and grime needs to be tackled. A deep clean might take a few hours, while a full restoration with part replacements and rust removal could take a weekend or several evenings, allowing for soaking and drying times.
- Q: Can I repaint the exterior of my grill?
- A: Yes, you can! However, it’s crucial to use high-heat, heat-resistant paint specifically designed for grills or engines. Regular spray paint will not withstand the temperatures your BBQ reaches and will peel or burn off.
- Q: Is it worth restoring a very old or cheap BBQ?
- A: It depends. If the frame is structurally sound and replacement parts are available and not excessively expensive, it’s often worth it. For very cheap, flimsy grills, the cost of replacement parts might exceed the value, and it may be more practical to invest in a new, quality grill. Always prioritize safety, especially concerning gas lines and burners.
- Q: What’s the best way to clean cast iron grates?
- A: For cast iron, avoid harsh chemicals that can strip the seasoning. After scraping, soak in hot, soapy water (using something like Dawn Powerwash Spray for tough grease) and scrub with a stiff brush or non-abrasive pad. Rinse, thoroughly dry immediately to prevent rust, and re-season with cooking oil.
As an Amazon Associate, BBQCleaner.com earns from qualifying purchases made through the affiliate links in this post. This helps support our efforts to bring you valuable cleaning and restoration guides.
