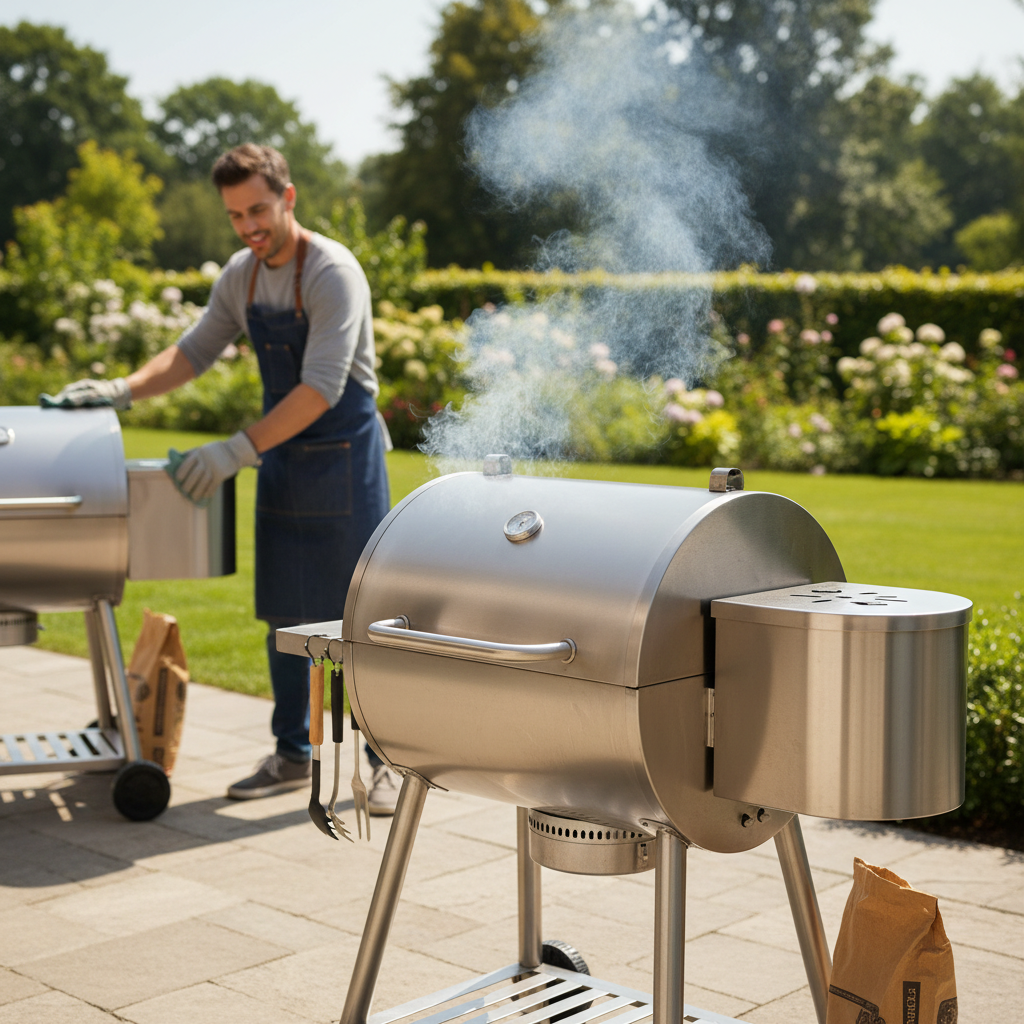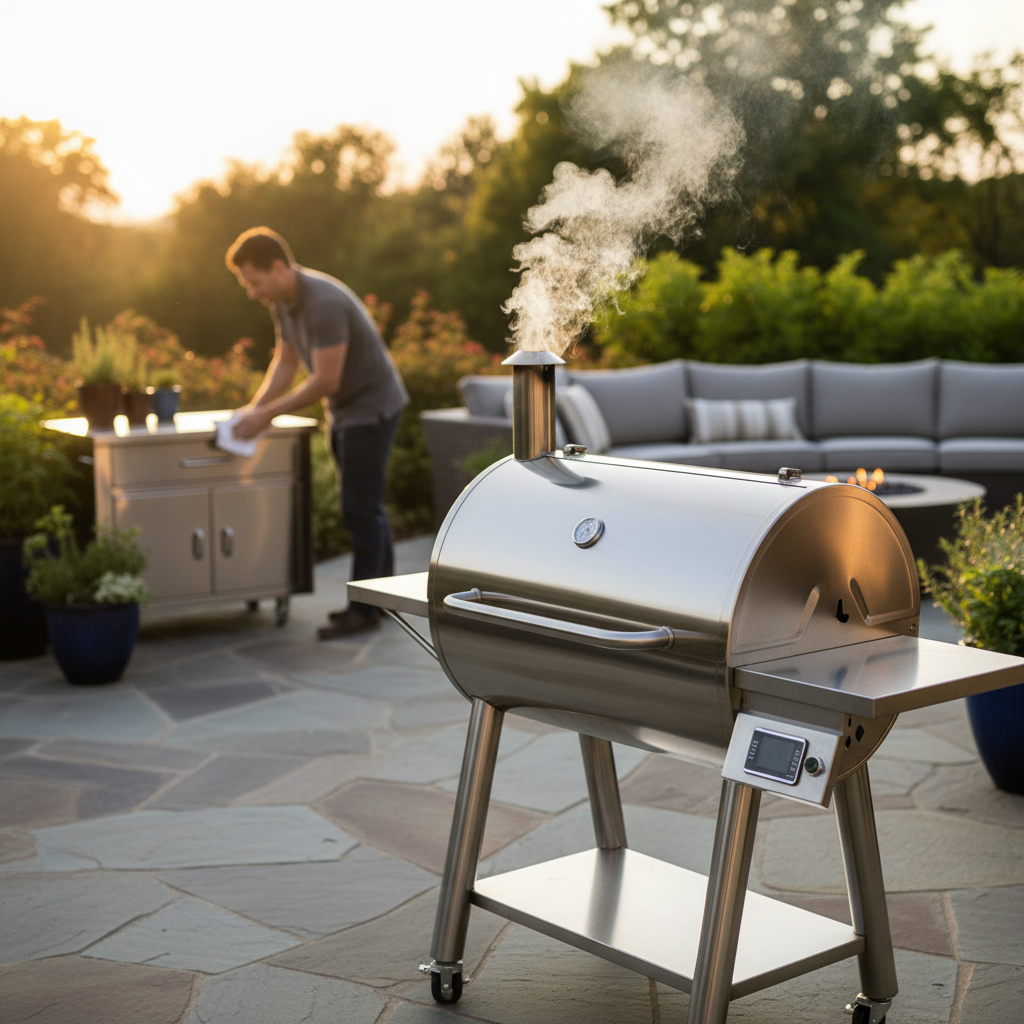
How to Clean a Pellet Grill Properly for Peak Performance
Why Proper Pellet Grill Cleaning Matters

Pellet grills have revolutionized backyard BBQ, offering consistent temperatures and delicious smoky flavors with the convenience of set-it-and-forget-it cooking. But to keep those flavors pure and your grill running smoothly, knowing how to clean a pellet grill properly is crucial. Neglecting regular maintenance can lead to unexpected temperature swings, poor ignition, dirty smoke, and even potential grease fires.
From maintaining optimal heat distribution to preventing premature wear and tear, a clean grill is a happy grill. This comprehensive guide will walk you through everything you need to know about pellet grill cleaning, from quick routine tidies to thorough deep-cleaning sessions, ensuring your next cookout is as perfect as the last.
When to Clean Your Pellet Grill: Quick vs. Deep
Understanding the difference between a quick clean and a deep clean, and when to perform each, is key to effective pellet grill maintenance.
Quick Clean (Every 2-3 Cooks or 10-15 Hours of Use)
This routine cleaning addresses immediate residue and ash buildup, preventing it from hardening or affecting your next meal. It’s essential for consistent performance and flavor.
Deep Clean (Every 50-70 Hours of Use or Seasonally)
A deep clean goes beyond the surface, tackling stubborn grease, carbon deposits, and ensuring all internal components are free from obstruction. This is vital for the longevity and safety of your grill.
Essential Tools & Supplies for Cleaning
Before you start, gather these crucial items:
- Shop-Vac or Ash Vacuum: Essential for safely removing cold ash. Never use a household vacuum on hot ash!
- Grill Brush or Scraper: A safe, bristle-free grill brush or a sturdy heavy-duty grill scraper is perfect for tackling grate residue.
- Degreaser/Grill Cleaner: A specialized grill cleaning spray/degreaser helps cut through grease.
- Rubber Gloves: Protect your hands from grime and cleaning agents.
- Bucket and Warm Soapy Water: For washing grates and other removable parts.
- Microfiber Cloths or Rags: For wiping down surfaces.
- Aluminum Foil or Disposable Drip Tray Liners: To catch grease and make future cleaning easier. Consider using disposable drip tray liners.
- Small Wire Brush or Scraper: For the burn pot and igniter area.
- Screwdriver/Wrench (if needed): For disassembling certain models.
Step-by-Step: The Quick Clean (Every Few Cooks)
This routine will keep your pellet grill in prime condition between deep cleans.
- Ensure Safety: Always unplug your grill and ensure it’s completely cool before starting any cleaning.
- Empty the Hopper (Optional): If you won’t be grilling for a while, it’s a good idea to empty any remaining pellets to prevent moisture absorption and clumping.
- Remove Internal Components: Carefully remove the cooking grates, drip tray, and heat baffle. Set them aside.
- Vacuum Out Ash: Using your shop-vac or ash vacuum, thoroughly vacuum all cold ash from the bottom of the grill, around the burn pot, and from any crevices. Pay special attention to the area under the heat baffle.
- Clean Cooking Grates: Scrape off any food residue from your grates with a grill brush or scraper. For stubborn bits, you can spray them with a grill cleaner and let it sit for a few minutes before scrubbing.
- Wipe Down Drip Tray & Heat Baffle: Scrape off any large grease deposits. You can wipe them down with a damp cloth or a paper towel. For easier cleanup, replace your drip tray with a fresh sheet of aluminum foil or a new Weber aluminum drip pan.
- Wipe Interior Surfaces: Use a damp rag to wipe down the inside walls and lid, removing any accumulated soot or grease.
- Clean Exterior: Wipe down the exterior surfaces with a damp cloth and mild soap if needed. Dry thoroughly to prevent rust.
- Reassemble: Place the heat baffle, drip tray, and cooking grates back into position.
Step-by-Step: The Deep Clean (Every 50-70 Hours)
A deep clean targets hidden grime and ensures every component is functioning optimally.
- Initial Safety & Disassembly: Unplug the grill and ensure it’s completely cool. Remove grates, drip tray, and heat baffle as in the quick clean.
- Thorough Ash Removal: Use your ash vacuum to remove all ash from the firebox, around the burn pot, and exhaust pipe. Inspect for any clogs.
- Clean the Burn Pot: Use a small wire brush or scraper to remove any hardened carbon buildup (creosote) from the burn pot. Ensure the ignition rod and air holes are clear of debris. This is crucial for proper ignition.
- Scrub Grates, Drip Tray, & Heat Baffle:
- Grates: For a deep clean, soak grates in a bucket of warm, soapy water (or a mix of food-grade baking soda and water for a natural approach) for 15-30 minutes. Scrub thoroughly with a brush or sponge.
- Drip Tray & Heat Baffle: Scrape off all grease and carbon. Use a professional oven & grill cleaner for heavy grease, following product instructions carefully, and rinse thoroughly.
- Clean the Temperature Probe: Gently wipe the internal temperature probe with a clean, damp cloth. Avoid harsh chemicals or abrasive scrubbing, as this can damage the sensor.
- Inspect and Clean the Auger Tube (If Accessible): If your grill design allows, inspect the auger tube for any pellet dust buildup or blockages. Use a small brush or vacuum to clear it.
- Clean the Chimney/Exhaust: If your grill has a chimney, remove the cap and use a bottle brush or rag to clean out any creosote buildup. This ensures proper airflow.
- Clean the Grease Management System: If your grill has an external grease bucket or collection system, empty and clean it thoroughly.
- Wipe Down Interior & Exterior: Wipe down all interior surfaces with a degreaser or a solution of cleaning vinegar and water, then wipe dry. For the exterior, use a mild cleaner and polish, especially on stainless steel parts.
- Reassemble & Inspect: Once all components are dry, reassemble your grill. Do a quick visual inspection to ensure everything is in its proper place and there are no loose connections.
Maintenance Tips for a Cleaner Pellet Grill
Proactive measures can significantly reduce the frequency and intensity of your cleaning efforts.
- Use Drip Tray Liners: Disposable aluminum drip tray liners make grease cleanup a breeze. Simply swap them out when they get full.
- Cover Your Grill: Protect your investment from the elements and keep it cleaner between uses with a high-quality grill cover.
- Burn Off Residue: After cooking, turn up the heat for 10-15 minutes to burn off any remaining food particles on the grates. Once cooled, a quick brush will remove the charred bits.
- Regular Ash Removal: Don’t let ash accumulate for too long. Excessive ash can block airflow and impact grill performance.
- Store Pellets Properly: Keep your pellets in an airtight container in a dry place to prevent moisture absorption, which can lead to “clinkers” and auger jams.
Frequently Asked Questions About Pellet Grill Cleaning
- Q: Can I use a pressure washer to clean my pellet grill?
- A: No, absolutely not. Pressure washers can damage sensitive electronic components, introduce moisture into areas where it shouldn’t be (like the pellet hopper or auger), and strip away paint or protective coatings, leading to rust. Stick to manual cleaning methods.
- Q: How often should I clean the burn pot?
- A: The burn pot should be cleaned during every quick clean (every 2-3 cooks) to remove ash, and thoroughly scraped during every deep clean (every 50-70 hours) to remove carbon buildup. A clean burn pot ensures efficient ignition and consistent temperatures.
- Q: What should I do if my grill has rust?
- A: For surface rust, you can often remove it with steel wool or a wire brush, followed by a light coating of cooking oil or a specialized griddle conditioner. For structural rust, consult your grill’s manufacturer. Prevention is key – keep your grill covered and dry.
- Q: Is it safe to use oven cleaner on pellet grill grates and interiors?
- A: While some professional oven & grill cleaners are formulated to be safe for grills, always read the product label carefully to ensure it’s suitable for your grill’s materials (e.g., cast iron, stainless steel). For interior walls, it’s generally best to stick to mild degreasers or natural solutions like vinegar and water to avoid damage to finishes or sensitive components. Always rinse thoroughly to remove all chemical residue.
By following these guidelines and making regular cleaning a part of your grilling routine, you’ll ensure your pellet grill delivers delicious results for years to come. Happy grilling!
BBQCleaner.com is a participant in the Amazon Services LLC Associates Program, an affiliate advertising program designed to provide a means for sites to earn advertising fees by advertising and linking to Amazon.com. We may earn a commission from qualifying purchases made through the links on this page at no extra cost to you.
