How to Clean BBQ Heat Plates: Your Comprehensive Guide
Why Cleaning BBQ Heat Plates is Crucial
BBQ heat plates, often called flame tamers, flavorizer bars, or briquette trays, are the unsung heroes of your gas grill. Positioned between the burners and the cooking grates, they distribute heat evenly, vaporize drippings to create that smoky flavor, and protect your burners from grease and food particles. Over time, these plates accumulate a thick layer of burnt-on grease, carbon, and food residue. Learning how to clean BBQ heat plates effectively is not just about aesthetics; it’s fundamental to your grill’s performance and your food’s flavor.
Enhanced Performance and Even Heating
When heat plates are caked with grime, they can’t properly transfer and distribute heat. This leads to uneven cooking, hot spots, and cold spots, making it difficult to achieve perfectly grilled food. A clean set of heat plates ensures consistent temperature across your entire cooking surface.
Preventing Flare-Ups and Food Safety
Excessive grease buildup on heat plates is a primary cause of dangerous flare-ups. As fat drips onto hot, dirty plates, it can ignite, charring your food and potentially damaging your grill. Cleaning them regularly reduces this risk, making your grilling experience safer and more enjoyable. It also prevents old, burnt residue from contaminating fresh food.
Extending Grill Lifespan
Grease and food acids can corrode metal over time. By regularly cleaning your heat plates, you protect them from premature wear and tear, and in turn, shield the burners beneath them. This simple maintenance step can significantly extend the overall lifespan of your expensive BBQ grill.
Understanding Your BBQ Heat Plates
Before you dive into cleaning, it’s helpful to know what kind of heat plates you’re working with.
Types of Heat Plates
* **Flame Tamers/Flavorizer Bars:** These are common V-shaped or tent-shaped metal pieces that sit directly above the burners. They catch drippings, helping to create smoke and protect the burners.
* **Ceramic Plates:** Some grills use porous ceramic plates that radiate heat and can absorb some drippings.
* **Briquette Trays:** Older or specialized grills might use a tray holding ceramic briquettes or lava rocks, which serve a similar purpose to metal heat plates.
Common Materials
Heat plates are typically made from:
* **Stainless Steel:** Durable and resistant to rust, but can still accumulate stubborn grime.
* **Porcelain-Coated Steel or Cast Iron:** Offers good heat distribution and some rust resistance, but the porcelain can chip if scraped too aggressively.
* **Cast Iron:** Excellent heat retention, but prone to rust if not properly maintained.
Essential Tools and Cleaning Supplies
Gathering your supplies beforehand will make the cleaning process much smoother.
* Heavy-duty work gloves (latex or nitrile for chemical protection)
* Safety glasses
* Bucket or large container
* Stiff-bristled brush or bristle-free grill brush
* Heavy-duty grill scraper or putty knife
* Sponges or scrubbing pads
* Microfiber cloths or old towels
* Heavy-duty grill degreaser (such as Grill Cleaner & Degreaser or Easy-Off Professional Oven & Grill Cleaner)
* Dish soap
* White vinegar (Cleaning Vinegar works great)
* Baking soda (Food-Grade Baking Soda)
* Optional: Grill cleaning stone or brick
Step-by-Step Guide to Cleaning BBQ Heat Plates
Follow these steps for sparkling clean heat plates.
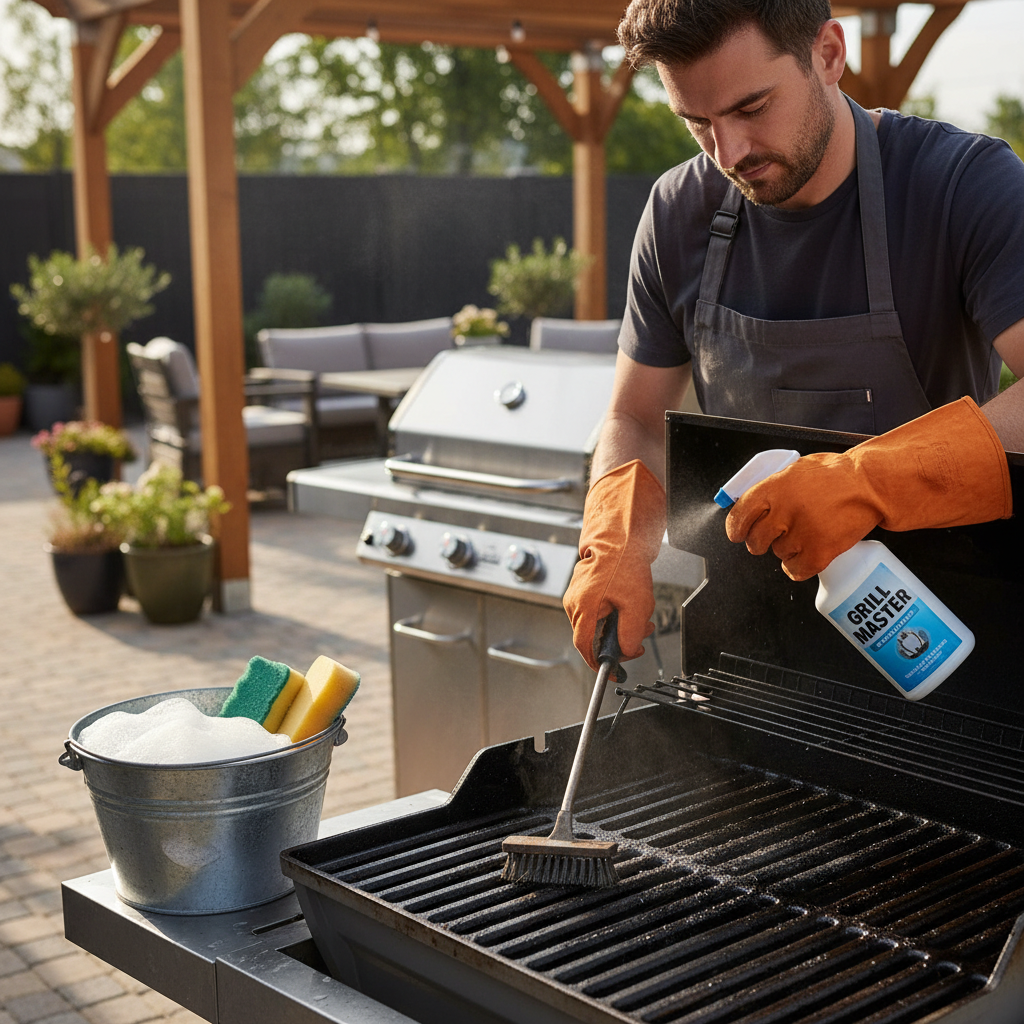
Safety First: Preparation
1. **Ensure the Grill is Off and Cool:** Never attempt to clean a hot grill. Disconnect the gas supply or unplug electric grills.
2. **Remove Grates:** Carefully lift out your cooking grates. This is also a good time to give them a thorough cleaning.
3. **Remove Heat Plates:** Gently lift each heat plate from the grill. Note their arrangement so you can reassemble them correctly.
4. **Protect Yourself:** Don your heavy-duty work gloves and safety glasses to protect against chemicals and sharp edges.
Initial Scrape: Removing Loose Debris
Place the heat plates on a sturdy, protected surface (like old newspaper or a tarp). Use your grill scraper or putty knife to scrape off as much loose, caked-on carbon and grease as possible. Be firm but careful not to damage the plates, especially if they are porcelain-coated.
Degreasing and Soaking
This is where the magic happens, breaking down stubborn grime. You have a few options:
* **Option 1: Heavy-Duty Degreaser:**
* Lay the heat plates in a large bucket, sturdy trash bag, or plastic tub.
* Generously spray both sides of the plates with a heavy-duty grill degreaser.
* Allow the degreaser to work for the time recommended on the product label (usually 15-30 minutes, or longer for extremely tough buildup). For very stubborn grime, you might even soak them overnight in a solution of degreaser and hot water.
* **Option 2: Baking Soda and Vinegar Paste (Natural Method):**
* Sprinkle a generous amount of baking soda over both sides of the heat plates.
* Spray or pour white vinegar directly onto the baking soda. It will fizz and create a paste.
* Let this paste sit for at least 20-30 minutes, or longer for heavily soiled plates. The chemical reaction helps to lift and loosen grime.
* **Option 3: Hot Soapy Water Soak:**
* For less severe buildup, fill a large bucket or utility tub with very hot water and a good amount of dish soap.
* Submerge the heat plates and let them soak for several hours or overnight. This softens the grime, making it easier to scrub off.
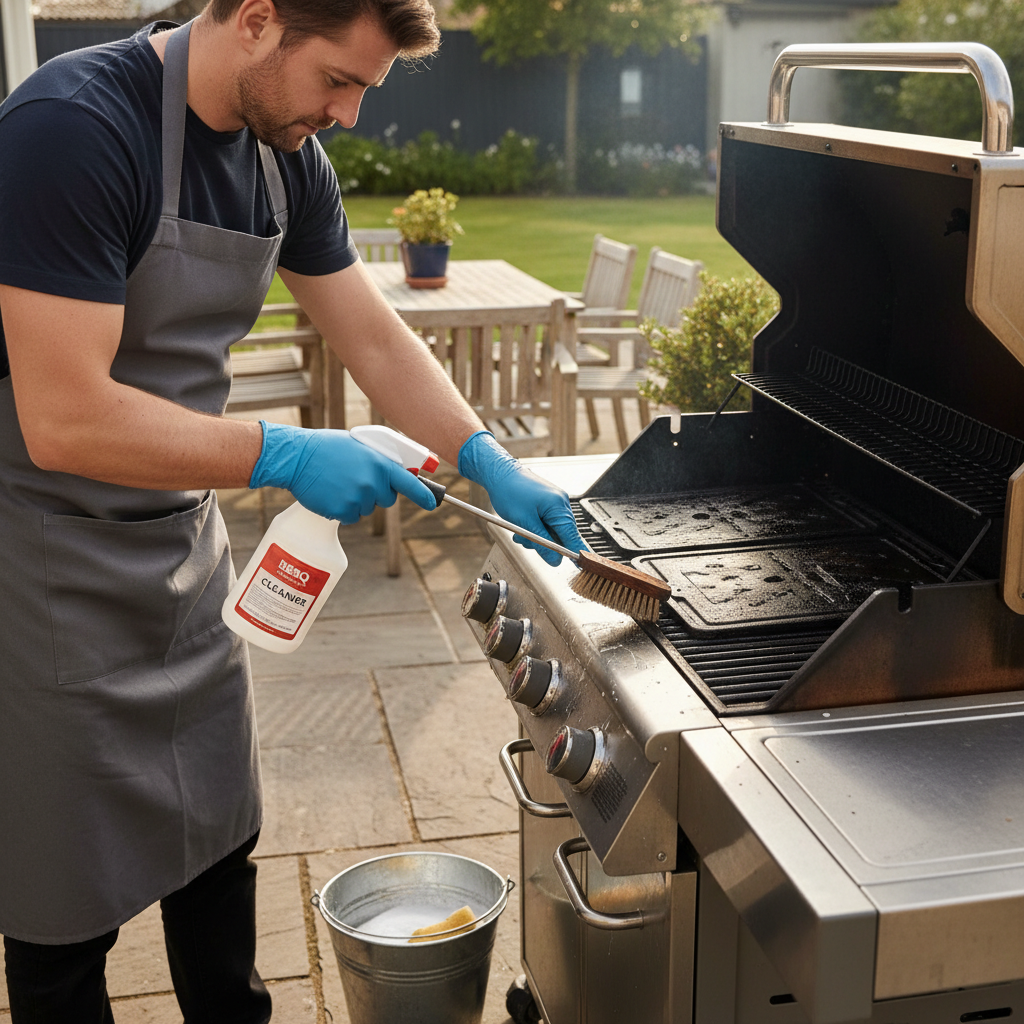
Scrubbing Away Stubborn Grime
After soaking, it’s time for manual labor:
1. **Scrub with a Brush:** Using your stiff-bristled or bristle-free grill brush, scrub both sides of the heat plates vigorously. Pay extra attention to corners and edges where grime tends to accumulate.
2. **Use a Scouring Pad:** For particularly stubborn spots, a heavy-duty scouring pad or even a grill cleaning stone can be effective. Be gentle on porcelain-coated plates to avoid chipping.
3. **Repeat if Necessary:** If grime persists, reapply your chosen cleaning solution and let it sit for another period before scrubbing again.
Rinsing Thoroughly
This step is critical to prevent chemical residue from lingering on your plates and potentially transferring to food.
1. Rinse each heat plate under hot running water, scrubbing lightly with a sponge until all traces of degreaser, baking soda, vinegar, and loosened grime are gone.
2. Ensure the water runs clear from the plates.
Drying and Reassembly
1. **Dry Completely:** Use a clean towel to dry the heat plates thoroughly. For cast iron plates, it’s especially important to dry them immediately to prevent rust. You can also let them air dry in the sun.
2. **Reassemble:** Once completely dry, place the heat plates back into your grill in their correct positions. Then, replace the cooking grates.
3. **Optional: Season Cast Iron Plates:** If you have cast iron heat plates, consider a light coat of cooking oil after cleaning and drying to prevent rust.
Maintaining Your Heat Plates: Tips for Longevity
* **Regular Post-Cook Cleaning:** After each cook, once the grill cools slightly, use your grill brush to scrape off any fresh food residue from the heat plates (and grates).
* **Use Drip Pans:** Placing disposable drip pans beneath the heat plates (if your grill design allows) can catch a significant amount of grease, reducing buildup on the plates themselves.
* **Protect Your Grill:** Always keep your grill covered with a high-quality weather-resistant grill cover when not in use. This protects all internal components, including the heat plates, from the elements and pests.
* **Deep Clean Quarterly:** Aim for a comprehensive cleaning of your heat plates at least once every three months, or more frequently if you grill often.
When to Replace Your Heat Plates
Even with diligent cleaning, heat plates don’t last forever. You should consider replacing them if:
* They are severely rusted, corroded, or warped.
* There are large holes or cracks that expose the burners directly.
* The porcelain coating has extensively chipped, leading to widespread rusting.
* They no longer effectively distribute heat, even after cleaning.
Frequently Asked Questions
Q: Can I put BBQ heat plates in the dishwasher?
A: It’s generally not recommended. Most heat plates are too large, and the harsh detergents and high heat can damage coatings or promote rust on certain materials, especially cast iron.
Q: How often should I deep clean my heat plates?
A: For average use, a deep clean every 2-3 months is sufficient. If you grill frequently (several times a week), consider cleaning them monthly. Regular light cleaning after each use is always beneficial.
Q: Is it safe to use oven cleaner on heat plates?
A: Yes, many oven cleaners are effective on grill components, including heat plates, as they are designed to break down baked-on grease. However, always check the product’s label for specific grill compatibility and wear appropriate protective gear.
Q: What if I have porcelain-coated heat plates?
A: Be extra gentle. Avoid abrasive tools like steel wool or overly aggressive scrapers that can chip the porcelain. Stick to softer brushes, plastic scrapers, and degreasers, or baking soda/vinegar solutions.
Q: Can I just burn off the grease?
A: While running the grill on high for a short period can carbonize some residue on cooking grates, it’s not effective for deep cleaning heat plates. It mainly hardens the existing grease, making it harder to remove, and can contribute to further buildup and potential fire hazards.
BBQCleaner.com is a participant in the Amazon Services LLC Associates Program, an affiliate advertising program designed to provide a means for sites to earn advertising fees by advertising and linking to Amazon.com. We may earn a commission from qualifying purchases made through the links on this page, at no extra cost to you.